How to Finish a Punch Needle Pillow
In this handy visual guide, let designer Rebecca Martin demonstrate how to finish hooked and punch needle pillow. In just five steps, you'll turn your punched and hooked cloth into a pillow that's worthy of the front spot on your sofa.
How to Finish a Punch Needle Pillow
By Rebecca Martin of StoryTeller Wool
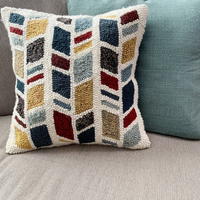
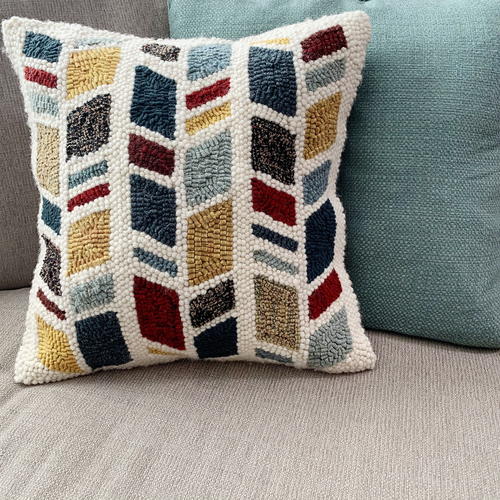
Punch needle rug hooking and traditional rug hooking are different sides of the same coin. Both techniques use the running loop stitch, both are a delightful way to create beautiful fiber arts and crafts. The pillow used in this guide was both hooked and punched. The shapes were hooked with a variety of strip sizes, ranging from 4 to 7. Once the hooking was complete, the work was flipped on the frame, and the background was punched with a bulky weight rug yarn, using an Oxford #10 regular sized needle. Those new to punch needle rug hooking might find a hybrid project like this a good place to start.
With traditional rug hooking, each loop is where it is wanted, when it is pulled. This is not always the case with punch needle rug hooking. There is a more involved clean up phase when using a punch needle, as the loops may stray more than desired depending on the angle that they are punched. Therefore, the first step in this guide starts with the clean up phase.
Finishing Instructions
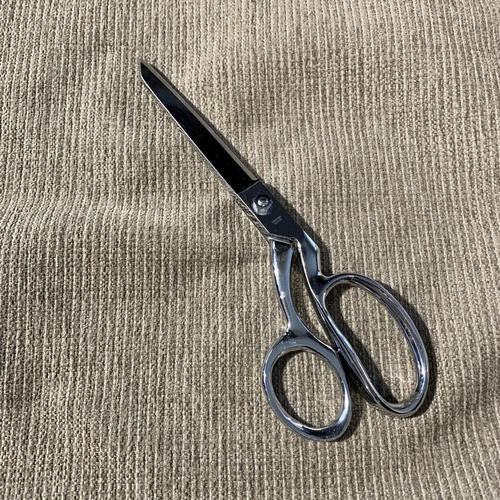
Clean Up
-
Make sure all tails are pushed through to the front, loop side, of the work. Hold each tail with gentle tension, and snip the tail flush with the work. Check loop placement. Some loops may need to be nudged or rearranged. Occasionally a neighboring loop has popped out, no worries, trim it off like it is a tail.
Steam it
-
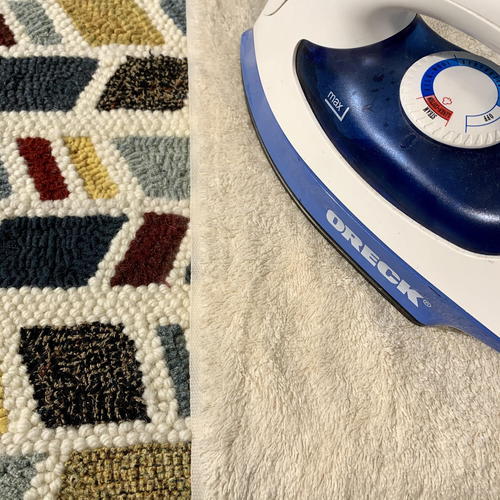
Once the loops are tidy, it is time for the very critical step of steaming the work. It is important to note that steaming only works well with yarn and strips that can handle the heat. Lay the work, loop side up, on an ironing board. Cover with a wet cloth, not damp, you want it nice and wet. A clean hand towel or dish towel works well. When punching with yarn, the rows are often much closer together than the rows of hooked loops. This density needs to be relaxed by the steam. Lay the wet towel over the work, and press your hot iron down on the towel. Be careful of the steam coming off of the work, it can be intense. A firm press of 10 seconds an area is recommended.
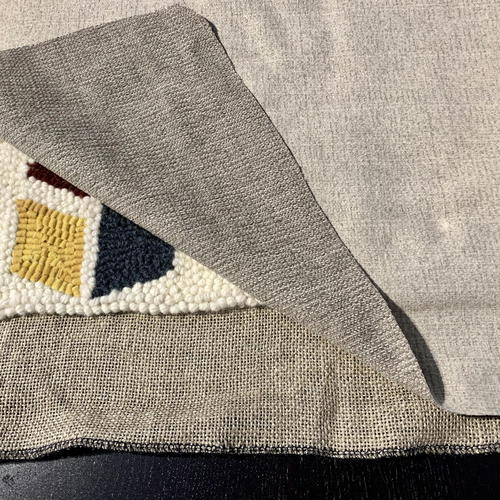
Create your pillow shape
-
When the work is dry, it time for the fun part, turning it into a pillow! Cut out a piece of fabric for the back of the pillow, this piece should be slightly larger than the work. Often a couch may come with a few throw pillows. Rarely are those pillows worthy of staying around when a custom pillow could take its place. Those pillows are a wonderful source when searching for a back piece of fabric. They are both free and available when making a pillow at any hour of the day or evening. Lay the back fabric right side to right side with the work. The fabric can be pinned in place if desired.
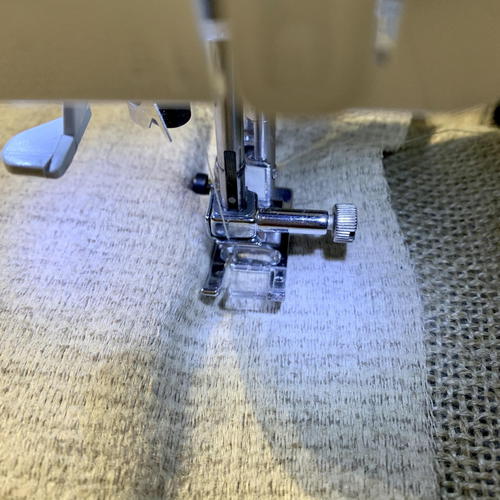
Sew it together
-
Now it is time to sew. The hooked/punched edge creates a raised section that is the perfect guideline for the sewing machine foot. A regular foot can be used, or a thinner zipper foot. Since the final look in this guide is a whipped edge, the desired foot is the regular foot. This will create an exposed area of the foundation cloth, when flipped, that is the perfect size to whip. Sew slowly along the dented fabric, as seen in the photo. Leave enough of an opening to turn the work right-side out. It is common to make the opening too small. The whipped edge will cover the opening, so feel free to make it a generous size. A pillow case has now been created. Trim off excess edge fabric. If desired, serge or zig zag stitch along the edge. This is especially important if the back fabric is likely to unravel. Linen and monk’s cloth love to unravel, so securing the edge is advised.
-
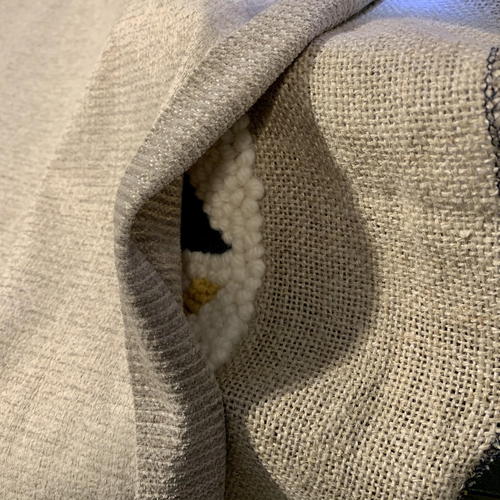
Note: Turning the pillow case right side out is always exciting, yet nerve wracking. How it goes is directly related to the size of the opening hole, too small a hole and the work will not flip. Once the piece is right side out, you will see your exposed foundation cloth edge. This is the area that will be covered with a whip stitch.
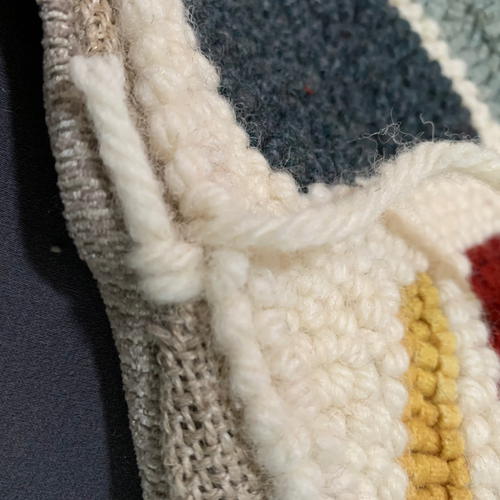
Whip stitch the edge
-
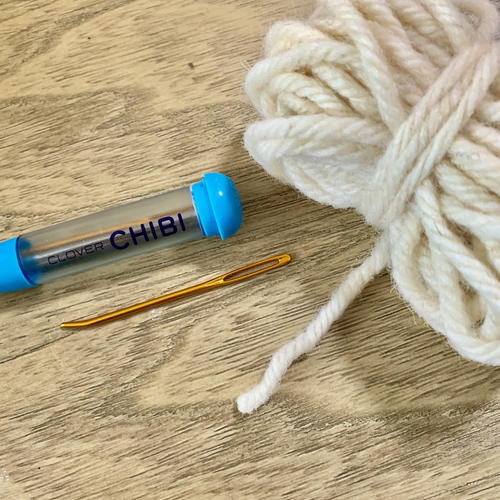
Whip stitch the edge - Locate a thick needle and some yarn. Bulky weight rug yarn is perfect for whipping, worsted weight, doubled up in the needle, also works well.
Whip stitch continued
-
A whipped edge is an ideal area to use up yarn that may be lying around, assuming it works color wise. Cut a length of yarn, about an arm’s length long. This is enough to work with, without it tangling and becoming unmanageable. Lay the tail of the yarn on the piece. Work from the back to the front, going in the holes as close to the back fabric and the finished work as possible. How thick the yarn is will determine the spacing of each whipped stitch.

Whip stitch continued
-
More often than not, every hole will receive a stitch. The first few whipped stitches will cover the tail. If a video example of this stitch is desired, please refer to StoryTeller Wool’s YouTube channel. The open area where the pillow was turned, is the most challenging. Hand sew the two fabrics together, and then whip the area.
Quick Tip: Many view finishing work, like a whipped edge, as a necessary evil. Try and reframe this. The whipped edge is a repetitive and soothing stitch. Turn on a fun television show, talk to a family member or receptive pet, and enjoy the process.